The Rockstar Games Launcher is a digital launcher that is designed for PC games and the developer and publisher of this storefront is Rockstar Games.
In some cases, the users can face online mode issues with the launcher.
A common error that is experienced by the players is the “Failed to Connect to the Rockstar Games Library Service” error.
The next part of the error is, “If you continue to see this message, please contact Rockstar Games Customer Service”.
You can face this error if you have a good internet connection.
In this article, I will tell you how to fix “Failed to connect to the Rockstar Games Library Service” in the Rockstar Games Launcher.
Why did I fail to connect to the Rockstar Games library?
You failed to connect to the Rockstar Games library because you are using the outdated version of Windows 10.
You can also get this error when the Rockstar Games Launcher Library is paused or the launcher is not configured properly (misconfigured).
Otherwise, the Rockstar games services are having problems or your internet connection is not in good condition.
Find out if Rockstar Games is down—if their services not fully functional, you have to wait for it.
You will be restricted form signing in online if there is as incorrect windows network configuration on your PC.
A slow internet speed can also result in connection problems.
According to Rockstar Games, the download speed should be 7.5 Mbps and an upload speed should be 1 Mbps.
How to fix “Failed to connect to the Rockstar Games Library Service”
To fix “Failed to connect to the Rockstar Games Library Service”, you can do these two things including try updating Windows or connecting to a VPN.
Apart from that, you can try to connect to 1.1.1.1 with WARP by Cloudflare, flush your DNS cache or remove the social club folder.
Proton VPN is a free VPN service that can be used.
After connecting to a VPN or 1.1.1.1, go to the Rockstar Games Launcher again and open it.
If everything is failed, you can contact Rockstar Games support here.
Solution 1: Update Windows
- Use the windows search to “Check for updates”.
- After that, click on the “Check for updates” button to check update.
- If there’s an update, try updating your Windows to the new version.
- Lastly, open the Rockstar Games Launcher.
Solution 2: Install ProtonVPN
- End the task for the Rockstar Games Launcher.
- Visit their official website: ProtonVPN.com
- Scroll down until you find the “Get Free VPN”.
- Click “Get Free VPN” button.
- After that, Install Proton VPN, open it, and create an account.
- After opening the free VPN, connect to it and open the Rockstar Games Launcher.
Solution 3: Use 1.1.1.1 by Cloudflare
- End task for the Rockstar Games Launcher.
- Go to https://1.1.1.1/ by Cloudflare.
- After that, download 1.1.1.1 for Windows/macOS/Linux.
- Now, open WARP and turn it on.
- Lastly, open the Rockstar Games Launcher.
Solution 4: Delete the social club folder
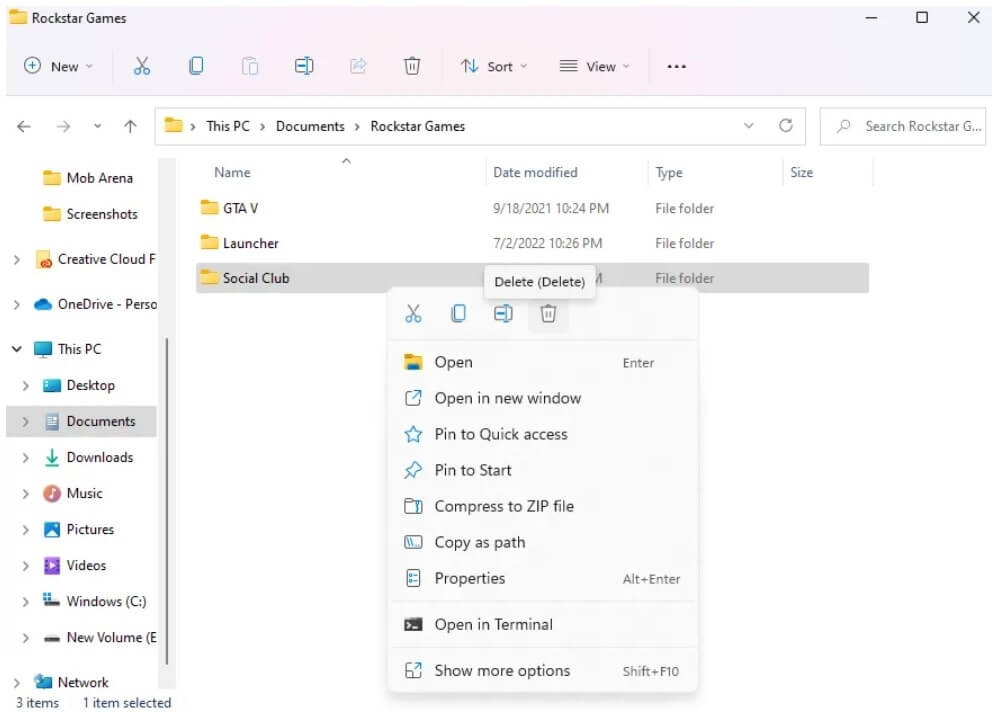
- Visit the File Explorer.
- Go to the “Documents” folder.
- Access the “Rockstar Games” folder by opening it.
- After that, delete the “Social Club” folder.
- Lastly, go to the Rockstar Games Launcher to open it and log in to your account.
Solution 5: Flush your DNS cache
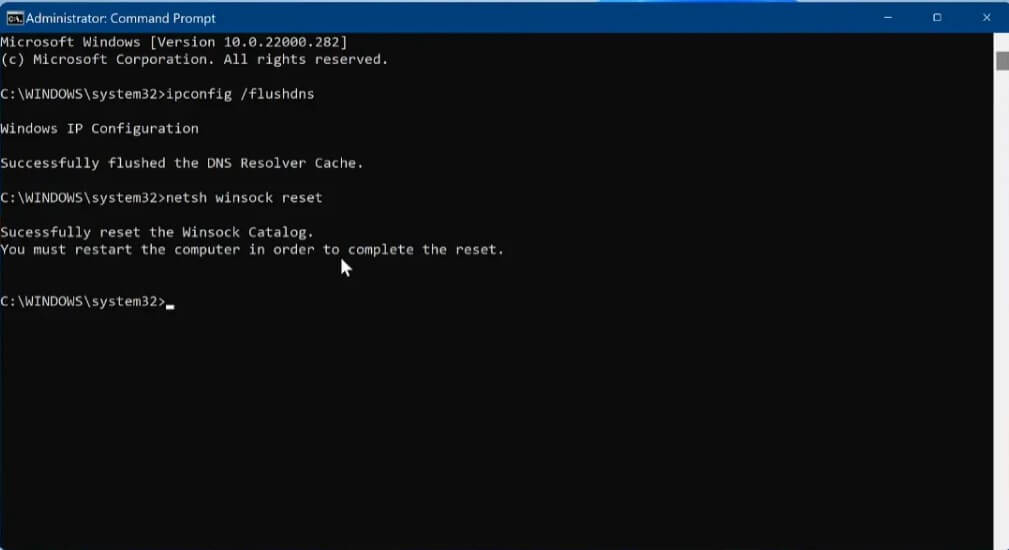
- Use the windows search to find “Command Prompt”.
- Now, run the Command Prompt as an administrator.
- Type this command “ipconfig /flushdns” and press enter.
- After that, type this command “netsh winsock reset” and press enter.
- Restart your PC or computer and reopen the Rockstar Games Launcher.
What’s Next
How to Fix 3000.108 “Unfortunately we failed to fetch an essential asset” in Rockstar
How to Fix “Online sign in failed” in Rockstar Games Launcher
How to Fix Offline Mode in Rockstar Games Launcher
Arsalan Rauf is an entrepreneur, freelancer, creative writer, and also a fountainhead of Green Hat Expert. Additionally, he is also an eminent researcher of Blogging, SEO, Internet Marketing, Social Media, premium accounts, codes, links, tips and tricks, etc.