Is your text not fitting in the cells in Google Sheets and do you want to fix it?
If yes, you need to change the width of each column.
Your text will fit in its cells by increasing the width of a column.
This way, your text will not overflow to the next columns.
Google Sheets contains a feature that allows you to resize columns.
You can access the feature by right-clicking the column that you want to resize.
In this post, I will tell you how to adjust, resize, or change the column width in Google Sheets.
How to change column width in Google Sheets
Here is a step by step guide on how to change column width in Google Sheets
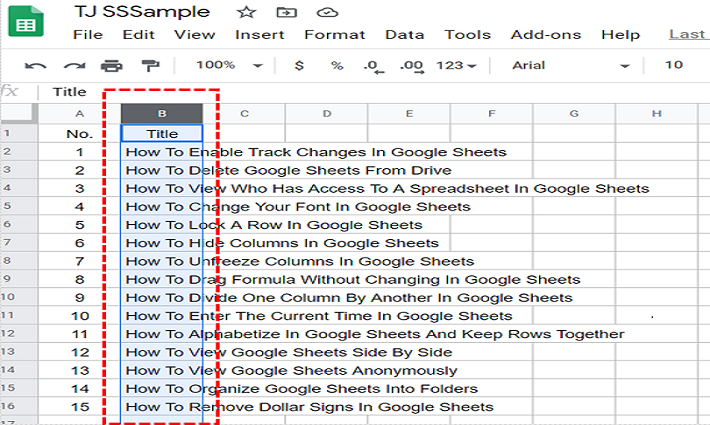
- Firstly, select the column that you want to resize.
- Right-click the column(s).
- Select “Resize column(s)”.
- Now, select “Enter a new column width in pixels”.
- Enter the column width (in pixels) that you want to change (e.g. 200).
- Lastly, select “OK”.
After selecting “OK”, the width of the column will be resized to the pixels that you’ve entered.
By default, the column width in pixels is 100.
You can increase or decrease it by putting the pixels into the text field.
You can press the “Shift” button from the keyboard to select more than one column.
If you’ve selected more than one column such as columns A to C, you’ll see the “Resize columns A – C” option.
All of the columns that you’ve selected will be resized after entering the pixels into the text field and after that, you click on “OK”.
If you are looking for a way to fit the text into the cells, you can double click the border beside the alphabet of the column.
In short, to fit the text, the width of the column will be resized.
What’s Next
How to Remove Table Borders in Google Docs
How to Make Text Vertical in Google Docs
How to Center Text in The Middle in Google Docs
Arsalan Rauf is an entrepreneur, freelancer, creative writer, and also a fountainhead of Green Hat Expert. Additionally, he is also an eminent researcher of Blogging, SEO, Internet Marketing, Social Media, premium accounts, codes, links, tips and tricks, etc.